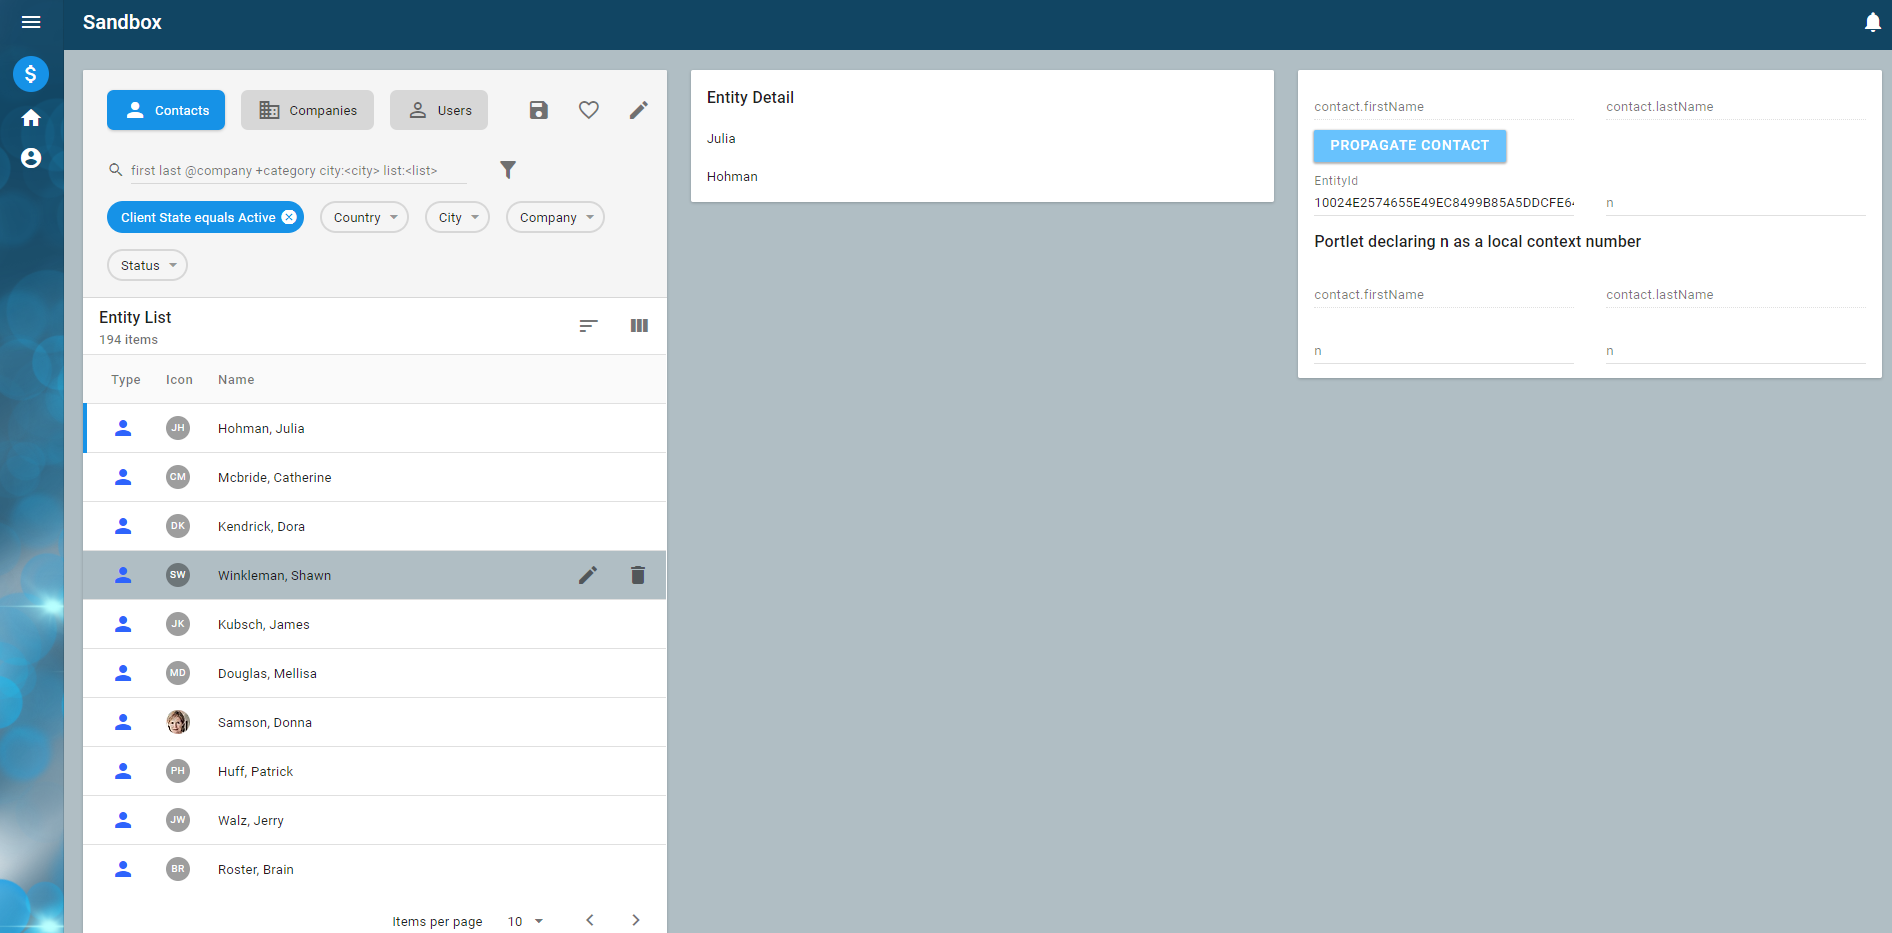
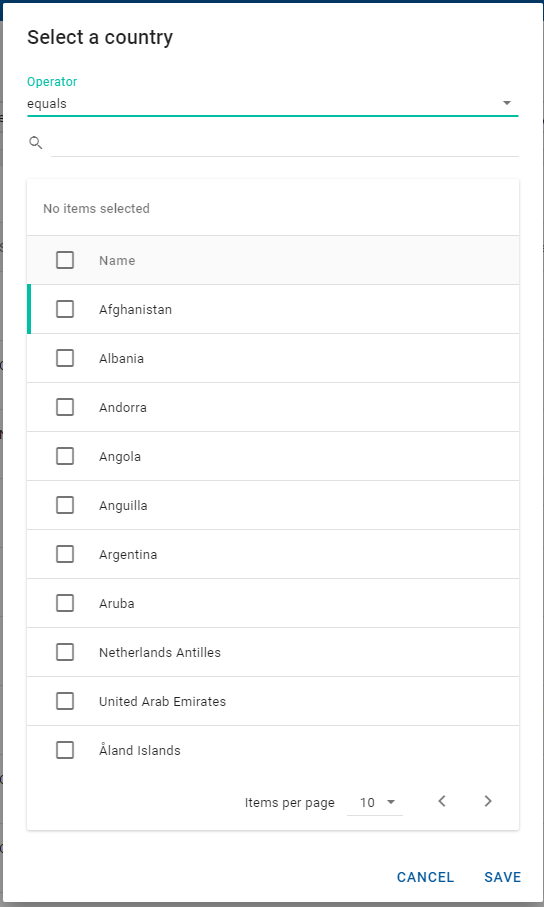
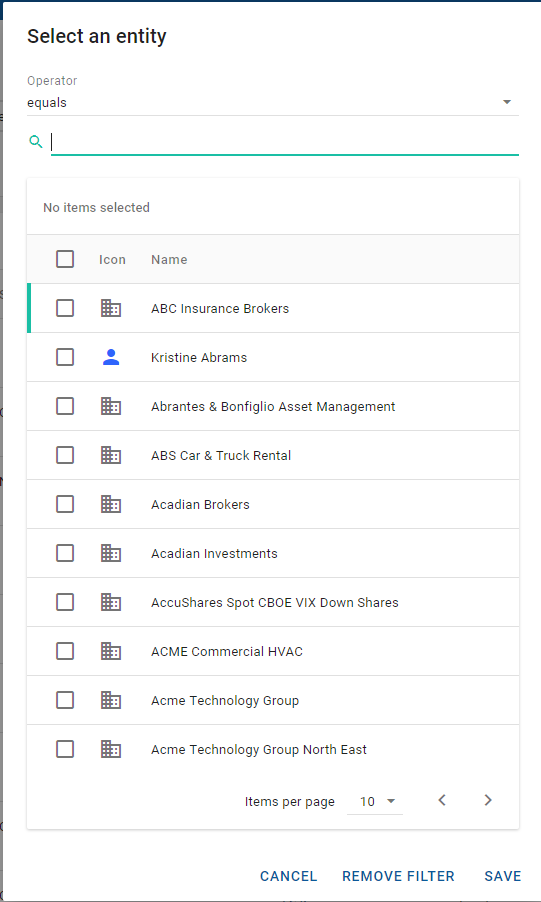
The implementation of these two components results in functionality similar to the following image.
At the top, you see filtersfor contacts, companies, and users. When clicked, these filters display the appropriate class, and are driven by the subjects and filters in the filter files.
Below the filters, is the text filtering area, which provides text searching capabilities and is driven by the text property of the filter.
To the right, are filter chips, which let you filter on specific conditions as defined in filter fields. In the upper right of the control, are the Save Filter , Select favorites , and Manage filters and lists buttons.
Lists are named saved lists of user-selected items. This lesson focuses on filters, which can be thought of as dynamic lists.
In preparation for the learning activities in this lesson, make sure that your files include the following code. If not, copy this code into your files before continuing.
idsa.training.layout.EntityDetail.caption=Entity Detail
idsa.training.layout.EntityList.caption=Entity List
idsa.training.layout.EntityList.icon=Icon
idsa.training.layout.EntityList.name=Name
idsa.training.layout.EntityList.type=Type
idsa.training.portal.Contact.caption=My Training Application
idsa.training.workspace.Sandbox.caption=Sandbox
Each class has a filter file, with a .filter extenstion, that specifies the attributes you can filter on. This file is applied to the list controls to provide filtering on the classes to which the control is bound.
Version 9.X
Filter and picker configurations have been greatly simplified in version 9.X. Now, you only need to maintain one filter configuration per class and reuse it where needed. This, along with greatly simplified metadata, makes it easier to understand and maintain filters.
Adding a search layout
Let's add a search layout to the training:EntityList.portlet.
Learning activity
Create a new layout with the name training:EntitySearch.
In the EntityList.portlet source, we added a search layout (query="true") and associated it with our training_EntityList_layout. Any criteria set in the search layout is applied to the list layout.
Save your changes, restart the server, re-seed the portal, and refresh your browser. The application should look similar to the following:
Explore by clicking on the filters and filter chips. Because the training:EntitySearch.layout is associated with the Entity class, its filter control looks for any filter elements in metadata with a class or base class of Entity, and shows the appropriate saved filters and filter chips. For more information about the end-user capabilities of filters, filter chips, saved filters, and favorites, see "Searching and filtering in NexJ CRM" in end-user documentation. Also, take a minute to learn how filter configuration works.
Usually, the configuration of fields is straightforward and the system displays the appropriate picker for the attribute you want to filter on, regardless of the attribute type (string, date, enumeration, or other). There are some more advanced ways of configuring a field as well, for example, dynamic custom fields.
Example filter field configurations
The following are example filter field configurations for different types of attributes that will display as filter chips.
Primitive attributes
Primitive attributes have types such as string, integer, date, and binary.
To configure a filter field for a primitive attribute, point the association to the attribute. The system then provides an appropriate picker.
This also applies to boolean, integer, currency, and other primitive types. The appropriate picker and validation are automatically applied.
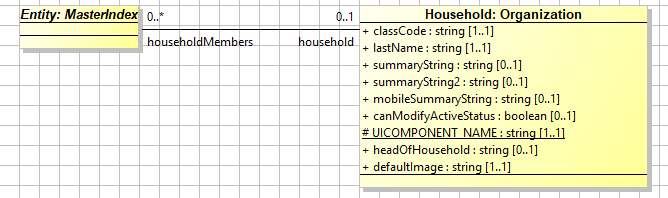
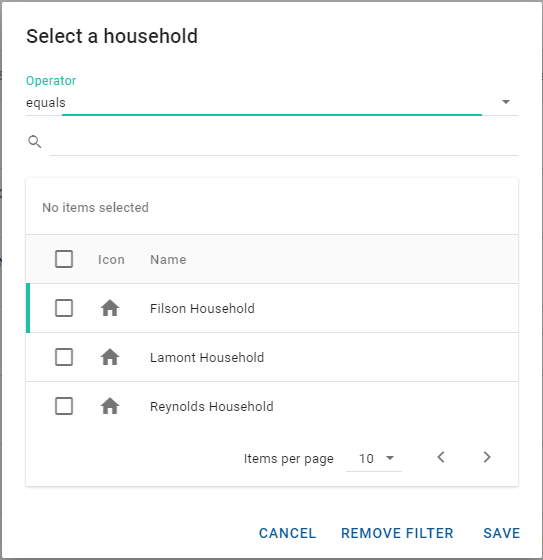
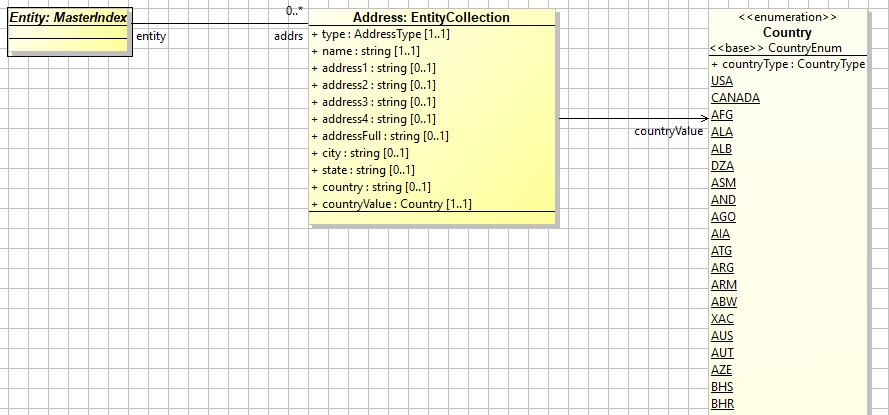
Association attributes
Association attributes are also simple to configure. They present a paging-enabled picker of instances of the attribute's type. In this case, the field's association property is set to the name of the association attribute household.
Notice that we are traversing an association in the model to get to the primitive countryValue.
Adding fields dynamically (poly="true" or flattening)
When you have an intersection table that refers to a value and a type, and you want to dynamically add the types for selection to the filter list, the type is based on either of the following:
A class, so the values are records in a database table.
An enumeration, so it is a pre-defined list.
The latter use case involves defining a set of fields that are dynamically added to the list. You can configure this dynamic set of fields using the "poly", "type", and "picker" properties.
We illustrate this with two examples:
Custom fields, which is based on a type that is another class.
EntityDate, which has a type based on an enumeration.
To better understand how custom fields work, take a look at the application user and admin documentation. In a nutshell, custom fields allow you to configure a new attribute for entities at runtime. These fields have a name and a type (text, number, currency, convertible currency, date, and relationship). They are created in the Admin console and must be enabled for an entity type before they display in the UI.
Example 1
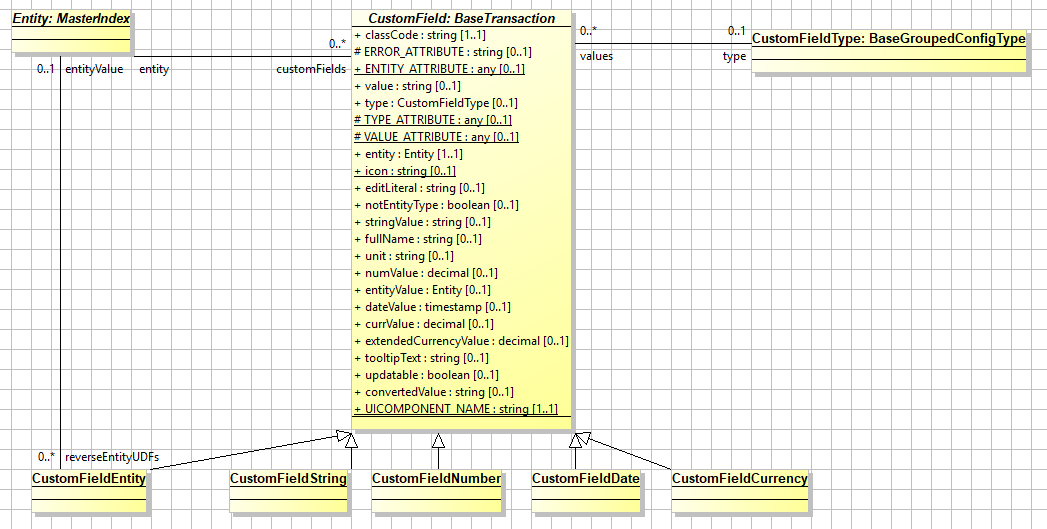
This is the custom field model. The following configuration flattens the custom field types and adds them to the list of available filter chips.
The association property is set to the Entity'customFields attribute.
Type is set to the CustomField'type attribute.
Poly="true" - dynamically add to the list and flatten the collection.
Picker - the collection for the picker is merged into the flat "Select filter fields" list.
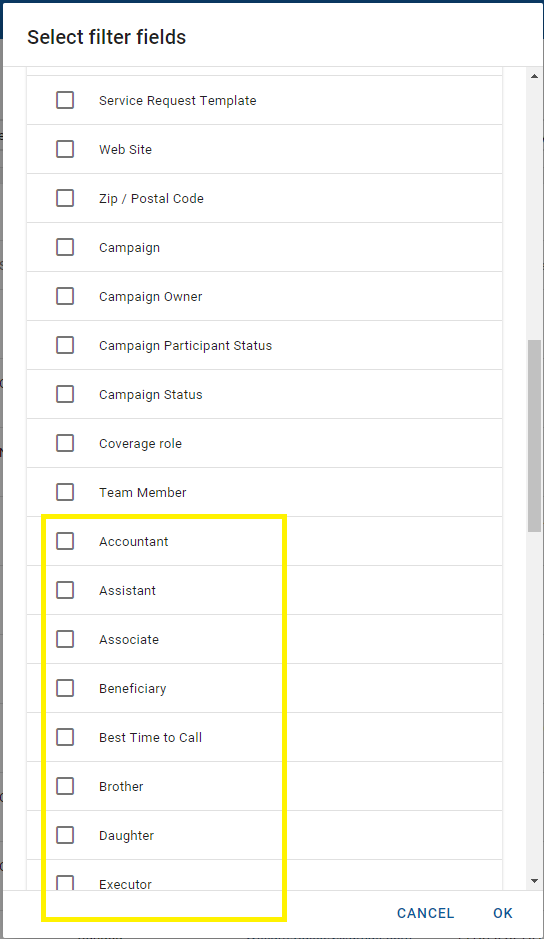
With this type of configuration (with a picker and the poly property set to true), we dynamically and automatically add all of the custom field types to the list. In the following diagram, the highlighted entries are read from the CustomFieldType class and added to the list.
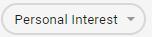
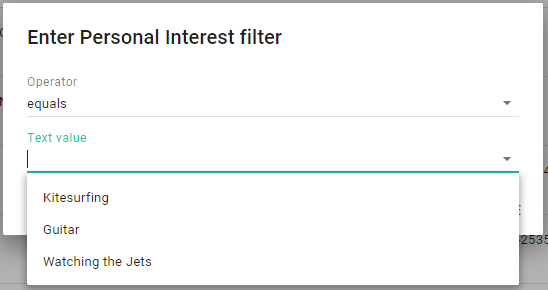
Based on the custom field type (date, relationship, or text), the appropriate picker displays automatically. For example:
When picking a custom field of the type text, the appropriate dialog displays, including pre-defined quick picks.
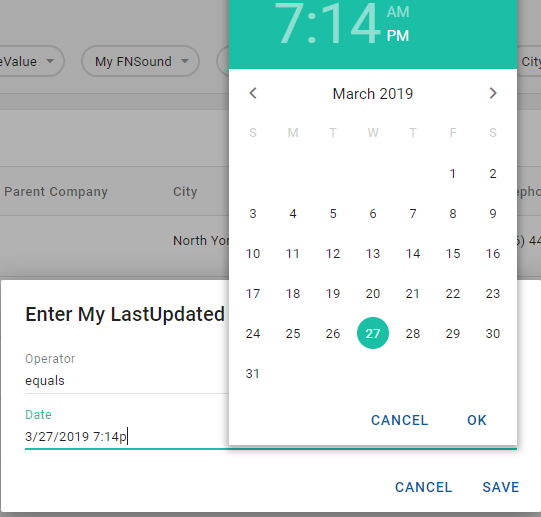
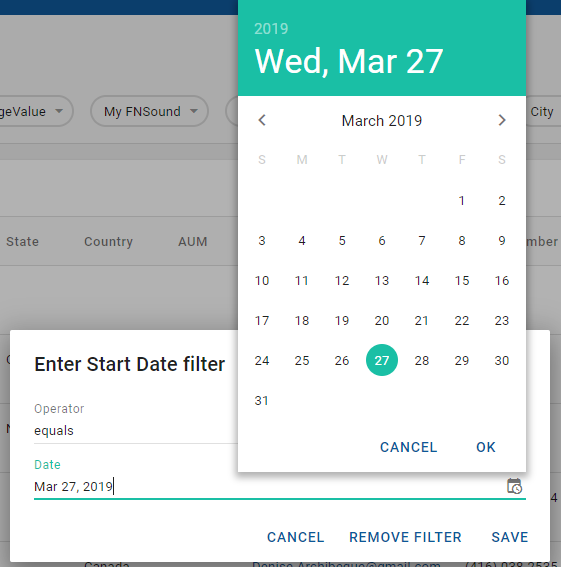
When picking a custom field of the type date, a calendar displays.
When picking a custom field of the type relationship, an entity picker opens.
Example 2
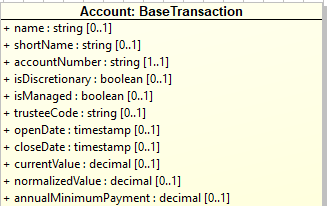
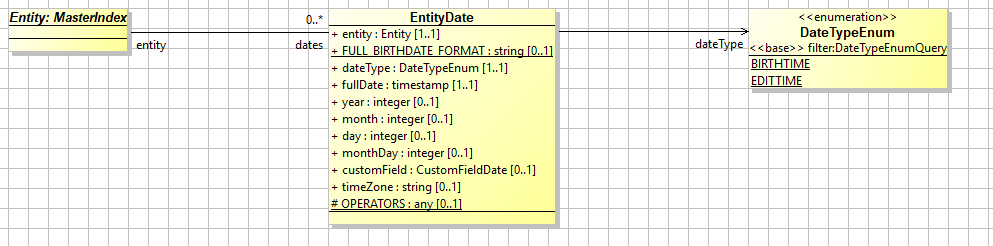
This is the entity date model.
The following configuration adds the filter fields associated with the BIRTHTIME and EDITTIME enumerations to the list.
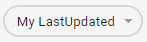
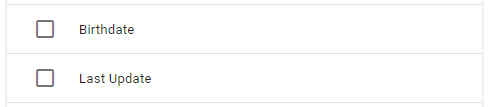
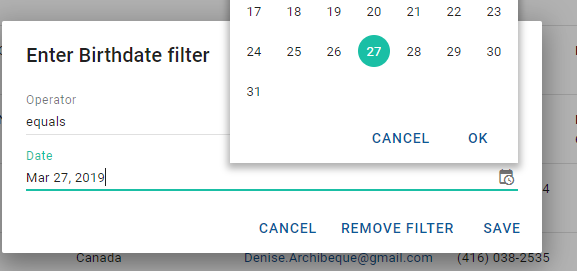
The following figure shows the two filter fields: Birthdate (the caption of the BIRTHTIME enumeration) and Last Update (the caption for the EDITTIME enumeration).
When clicked, the Date field appropriately displays a calendar.
Adding a filter
Let's learn how to add a filter.
Learning activity
Create a new filter named training.Entity.filter and add the following contents:
Only one field is used for each association. If you define two associations for lastName with different captions, only one will display in the application. To prevent confusion, ensure that the field associations are unique.
Restart the server. You should see new filter chips because your .filter file merged with all existing fields for Entity.
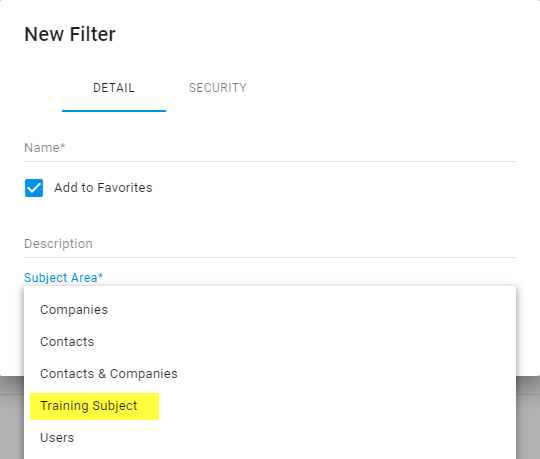
In the training portal, click the Manage filters and lists button , and click the Add Filter or List button .
Select Filter, and add a filter with the name My Persons, using the Training Subject subject area.
An additional filter named My Persons is added, as shown in the following figure.
JavaScript errors detected
Please note, these errors can depend on your browser setup.
If this problem persists, please contact our support.