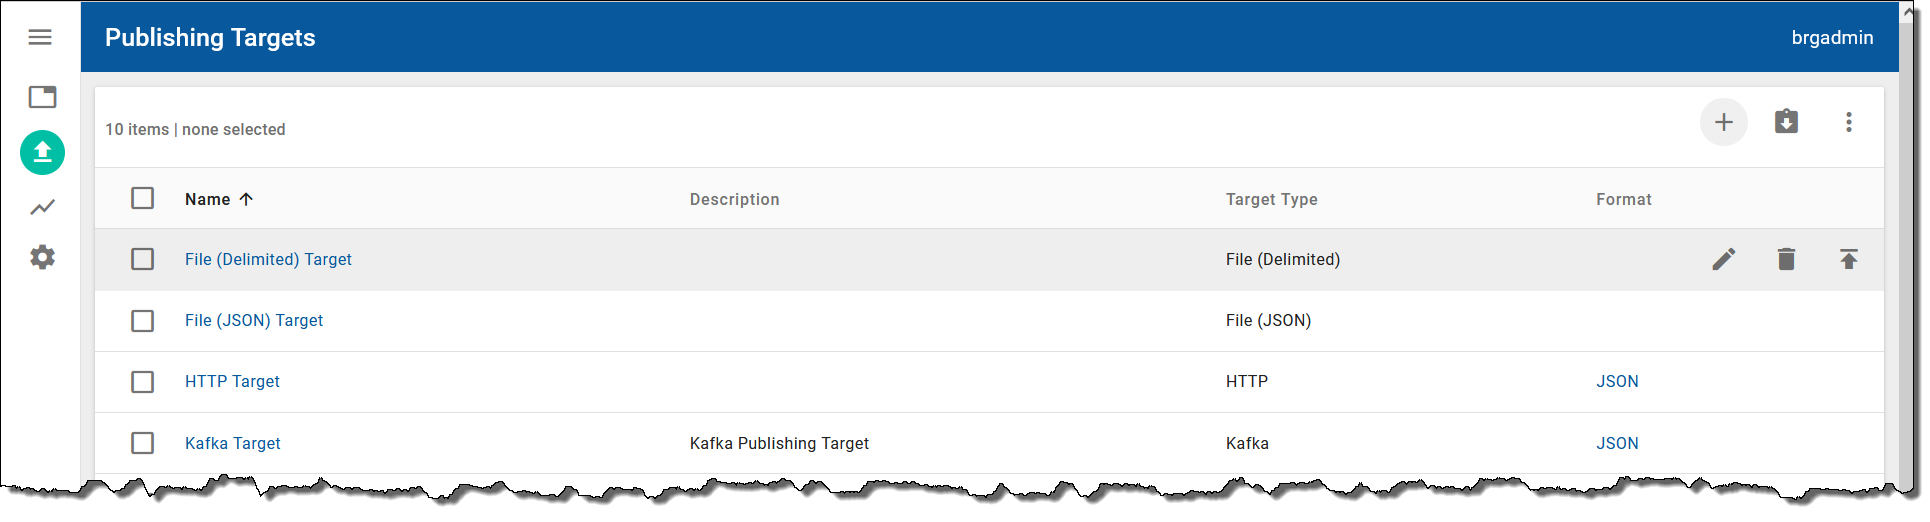
The Publishing Targets tab on the Integrated Systems workspace  enables you to add, edit, and delete publishing targets. The following screenshot shows an example of the information provided on the Publishing Targets tab:
To add a publishing target, click the Add Target button  above the publishing targets table, provide a name for the target, select a target type (for example, File (Delimited), File (JSON), HTTP, or Kafka), and select Save Publishing Target. If you select HTTP as the target type, you will need to provide the HTTP URL and HTTP channel. You can also configure an HTTP custom header. If you select Kafka as the target type, you must provide a Topic before saving the target. For information on the fields for File (Delimited) publishing targets, see Output format specifications.
You can edit a publishing target by clicking the Edit Target  button for a selected publishing target in the table or delete the selected target by clicking the Delete Target button
  .
.
You can export an existing publishing target for the purpose of reusing it in another environment by clicking the Export Target button  for a selected target. The file is downloaded to your local
 .../Downloads folder in JSON format. The default file name is in the following format: <targetName>.json. To import a publishing target, click the Import Target button  , click the Select button , and select the required
 .json file.
After you have created your publishing targets, you will add them to views in the Publishing Options tab. For more information, see Creating views.